Classic Car Restoration - Where to Begin? A Car Restoration Guide
Posted by Dale Edward Johnson on Nov 18th 2020
There’s nothing like the magic of driving a classic car. A cruise in an old car stirs fond memories – both for you and your passengers, as well as for people who stop and gaze as you drive by.
If you are new to the old car hobby and want to restore your first vehicle, some planning will make the restoration go faster and cost less. And you will end up with a vehicle that you’re proud of and suits your needs.
If you’ve made the decision to restore an old car, first do some planning with this classic car restoration checklist.
Starting: Determine where you want to finish
When you plan a vacation, you decide where you want to go and then you work back from there, by booking flights or planning your driving route. You don’t simply start driving or hop on an airplane and then end up someplace. No, you decide where you want to be, and work back from there.
It’s a similar concept when it comes to restoring a car. First, you need to know what you want to have when the restoration is complete. Ask yourself:
- Why do you want to restore a classic car?
- Do you want to drive an iconic classic, like a 1965 Mustang or something rare and obscure, like a 1952 Henry J car?
- Do you want to drive a car from your youth?
- Do you want a car strictly for show, or do you want a car that you can drive regularly and take on road trips?
Once you’ve answered these questions, it’s almost time to go shopping. But first, start planning how you will do the restoration.
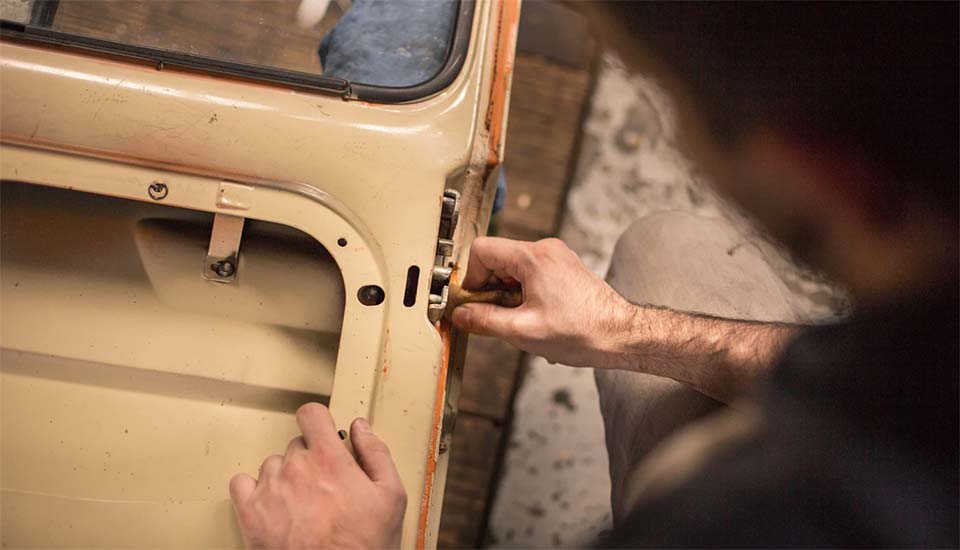
Planning: Getting ready to restore a car
Among the elements to consider in planning your restoration project:
- Dollars: How much are you prepared to spend on this project? Include costs for specialized tools you will need for a classic car restoration that you don’t now have. Allow for a bit more than your budget, because there will be unforeseen expenses. How much does a classic car restoration cost? It depends on the condition of the car when you get it, how much work you need to do and how much work you want to do.
- Time: How many hours per week will you spend on this project? When is the target date for completion?
- Location: Where will you do the work? Do you have a garage, or will you need to arrange a place where you can work on your car?
- People: Who is working on this? Just yourself? Family members? Friends? Professionals?
- Skill level: How much of the work are you able to do yourself, or how willing are you to learn new skills? How experienced are the friends and family members who may help? How skilled are professionals you may pay for specialized work?
Buying: Finding your classic car
Once you know how much money and time you have to spend on this project, then you can start shopping for the car of your dreams. You may have a specific year, make and model in mind, like a 1957 Chevy Bel Air convertible, or you might be looking for a type of car, like a late 1960s pony car. The search may take you far from home, or perhaps just down the street. You might find what you want within days, or the search might take months or even years.
The price you pay for the car is only part of the cost of the total restoration project.
For some cars “restoration” may be fairly minor. Perhaps your car is mechanically sound but needs some bodywork to take out dents and fill in rust holes. Or maybe the restoration on your car means a new or rebuilt engine.
For other cars, “restoration” may mean replacing and/or rebuilding most of the vehicle, including the frame, body, interior and drivetrain. So, depending on the type of restoration you’re doing, not all of the following steps may be necessary.
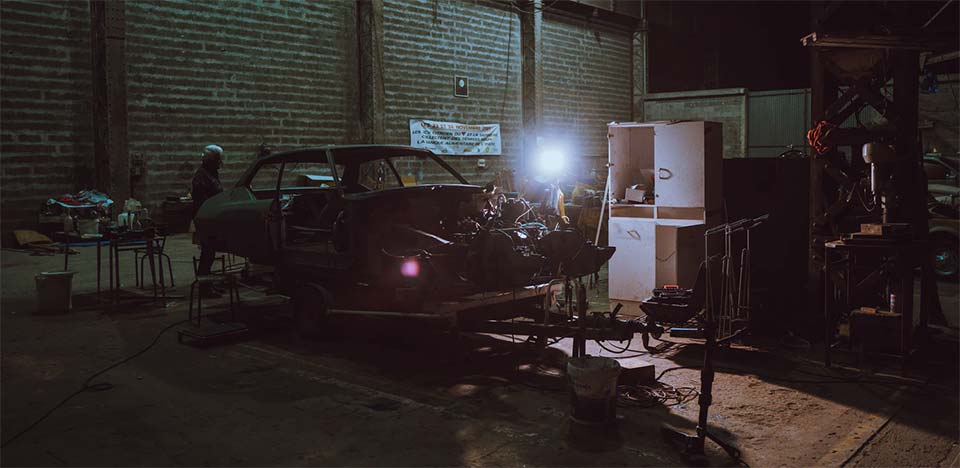
The Work Begins: Taking things apart
As you are tearing apart your car, take lots of pictures to show where things properly go when you’re putting your car back together. For some procedures, a video is even more helpful. Also, having pictures will be invaluable for the “before” and “after” photos that can be part of your display to show off your car after the restoration is completed.
You may also want to get original dealer brochures and/or articles from car magazines that will be very helpful in showing you what your car originally looked like.
- Interior: Remove the interior components, and store them in a dry, clean place. Label everything, and store small pieces in well-marked envelopes or clear plastic zip-top bags. This may seem like a time-consuming process, but it will actually save you time when it comes to putting everything back together. Order the classic car interior restoration parts as needed.
- Drivetrain: Remove the engine, transmission and other components of the drivetrain.
- Body: Remove the bumpers, grill, trim pieces and lights. Label them and store them carefully.
As you take the car apart, you will be able to determine what classic car restoration parts need to be ordered.
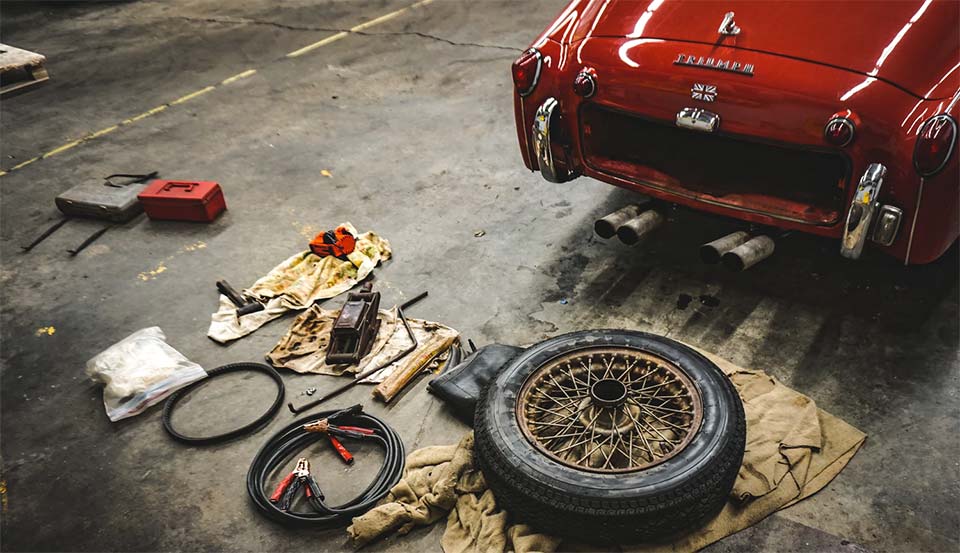
The Restoration Work: Doing it yourself or getting it done
Now that your car is in pieces, you can start working on it. Decide what needs to be replaced, what needs to be repaired and what just needs to be cleaned. Your final decision may come down to the dollars you have available and how you want your car to look when the restoration is completed.
Depending on your skill levels, available time and budget, you can do some of the work yourself. For other tasks, you may need a friend or family member experienced in these areas. You may be able to swap some skills; for example, you do some bodywork for a buddy, and he returns the favor by tuning up your engine. In other cases, you may need to hire professionals.
It’s a good idea to have several projects on the go at the same time, as you work through the car restoration checklist. That’s because there will inevitably be delays waiting for parts or for friends’ or professionals’ help. For example, if work on the engine gets delayed, you can work on the interior. If that work gets slowed down waiting for parts, you can tackle the bodywork. Be prepared to have one area almost done, another partly done, and another just started. That’s OK – and ultimately it means the project is still moving along, even if one element of the restoration is temporarily delayed.
Finishing up: Putting it back together
After the work is completed on the various components, now it’s time to put everything back together.
- Start with the drivetrain. You may have replaced the entire engine or just the worn-out parts. The steering and suspension parts may also be repaired or replaced. A new set of classic car wheels and classic car tires are recommended to finish off a restoration.
- Then, moving inside, the interior components can be re-installed or replaced. This includes new weatherstripping, sound deadening insulation and car headliner.
- The body may just need minor work to smooth out dents and dings, or it may need new sheet metal welded in to replace rusted metal. After all the bodywork is completed, then comes new paint and trim molding.
You will also need to decide how safe you want your collector car to be. For example, some people add safety belts and turn signals to collector cars, even if they didn’t have such features when new. It’s about making your car safe in today’s driving conditions.
Driving: Enjoying your collector car
With the restoration finished, and you start driving and showing off your collector car, there are a few other things to consider:
- Make sure you have proper insurance.
- Like any car, your collector car will need routine maintenance and upkeep. That includes oil changes, checking the tire pressure, and keeping it cleaned and waxed.
- If you store your car during winter, you will need to make sure it’s in a dry, safe place. Proper upkeep and care are just as important when you are not driving your restored car as when you are.
Proper care after the restoration is complete means your collector car restoration will last longer, be a financially sound project – and be a source of pride for a long time.
